Little Explorers: Tin Can Chimes
- blog-2
- Little Explorers

It’s pretty awful to think about all the waste we throw away – even into the recycling bin! This week we’ve been on a mission to collect all the tin cans we use and turn them into something pretty tuneful for the garden. Here’s how we did it!

You will need:-
- Tin cans
- Garden string
- White wine vinegar
- Enamel paint
- Primer and sealant (optional)
- Screwdriver
- Strong twigs
Painting on tin cans can be a bit of a hit and miss affair. Our top tip is to use enamel paint – acrylic will wash off at the slightest hint of rain.

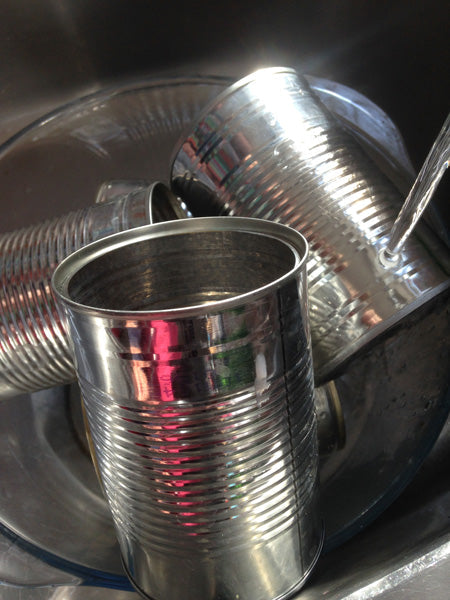
Soak the labels off your tin cans and you may also have to scrub any remnants of glue. Wiping down the surface with diluted white wine vinegar will remove any traces of soap or grease too. It’s a good idea to make sure your tin cans are properly dry before you start painting. Popping them in a warm oven for 20 minutes does the trick.
If you’re feeling really committed to the cause, you could sand down the can to give the paint the best chance of sticking. You can use fine sandpaper or steel wool, but make sure you get all the dust off afterwards. This is the kind of useful and satisfying job our Little Explorers enjoy, so we went for it!

Because we really would like these chimes to last at least a couple of seasons in the garden, we also used a spray-on metal primer, and applied it at a distance from the Little Explorers so they didn’t breathe it in.
If your children are very little, it could be a good idea to apply the base paint for them. This way they’ll have a colourful canvas to splat their paint on and it can’t fail to look impressive! Of course, enamel paint is not washable so you may want to be even more attentive than you normally are when the paints come out to play!
Once they are fully dry, you could spray on a coat of artists’ varnish to prevent them from being scratched.
Use a bottle opener to poke and turn a hole in the base of the cans and tie them up on your sticks with string, any which way you fancy! You could hang your creation up in the garden, outside a den as a doorbell, or even use them as target practice!


Expert Explorers: Did you know that when tin cans reach the recycling plant, they are shredded, melted down, poured into casts and chilled. The metal is then rolled out and made into new cans. It’s a crazy thought that just six weeks later that can of beans could reappear in your local shop as – a new can of beans! It could also be made into part of a car, plane or bike!


